How to get started using BrightKite: Signing up and your first Post from your Comptuer
30 12 2008In the upcoming series focusing on BrightKite, you will be able to learn how to setup and use the BrightKite location based social network.

BrightKite, a social network aiming to create a community based on the places people frequent was founded in Devner only last year. It entered a private beta period for almost about eleven months, and recently opened it’s doors to the public earlier this month. So if you don’t have an account- get one now and read on to get started using BrightKite!
First thing is first, you need to get an account from BrightKite.com. The process is simple, but I’ll walk you through the first steps:
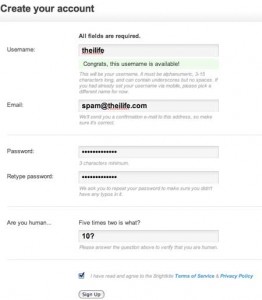
After you’ve entered all your account information, you can click next and be prompted with the next steps.
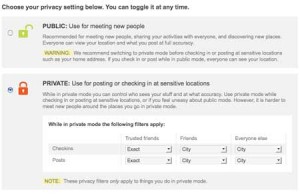
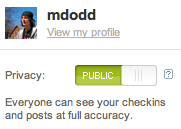
By selecting your default privacy settings, you can control how much information you share and who else can see it. At any given time you can still toggle back between the modes, so this step isn’t crucial. To get the most out of BrightKite, I recommend using the “Public” setting- but beware that it will let others see where you have checked in.

The next step will be to check in for the first time. While this isn’t required, you’ll want to check in at some point anyway- so why not? Simply enter a location where you are, which can be detailed as a street address or as vague as a zip code- or just a business address and press “Check In”.
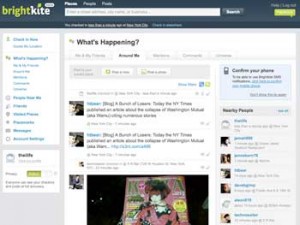
After that you will be displayed with “What’s Happening” in your area- which can either be populated with other BrightKite users activity around you, or empty because there is not enough activity. Above is the main web interface- which can seem a little confusing at first.
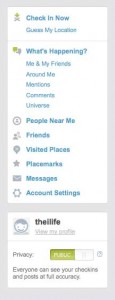
Broken into three parts, it’s rather trivial. The left most column is where all the action lies, where you click to Check In, have BrightKite guess your location (using nearby Wi-Fi hotspots) see What’s Happening around you, in the BrightKite universe, with only your friends. You can also see comments on your activity, mentions from other BrightKite users, visited places or your placemarks (places you bookmarked).
The next two columns can change based on what you mode your in. For example, if you’ve selected the What’s Happening? The main view is focused only on things going on around you, comments or mentions to you, the entire BrightKite universe or just your friends. If you selected Visted Places, you’ll see a list of all the places you’ve checked into.
With this information, you’ll be able to get started using BrightKite. In the next article in this series, we will explore new ways of checking into BrightKite from mobile devices such as iPhone, iPod touch or just a simple cell phone. We have to thank Brady Becker, BrightKite founder, for helping me write this tutorial!
Categories : Tutorial











 RSS 2.0